
How to Draw Bubble Letters
Draw your own bubble letters with a pencil, an eraser and 5 easy steps.
What You Need
You only need a few simple things to draw bubble letters:
- A pencil for the light guide lines.
- A good eraser to take the guide lines away.
- A black marker or felt-tip pen for the final outline.
- Crayons, colored pencils or markers to color your letters.
- Paper. Plain printer paper is fine. Thicker paper is better for markers.
Want a head start? Print a tracing page from our bubble letter generator and draw over it.
How to Draw Bubble Letters in 5 Steps
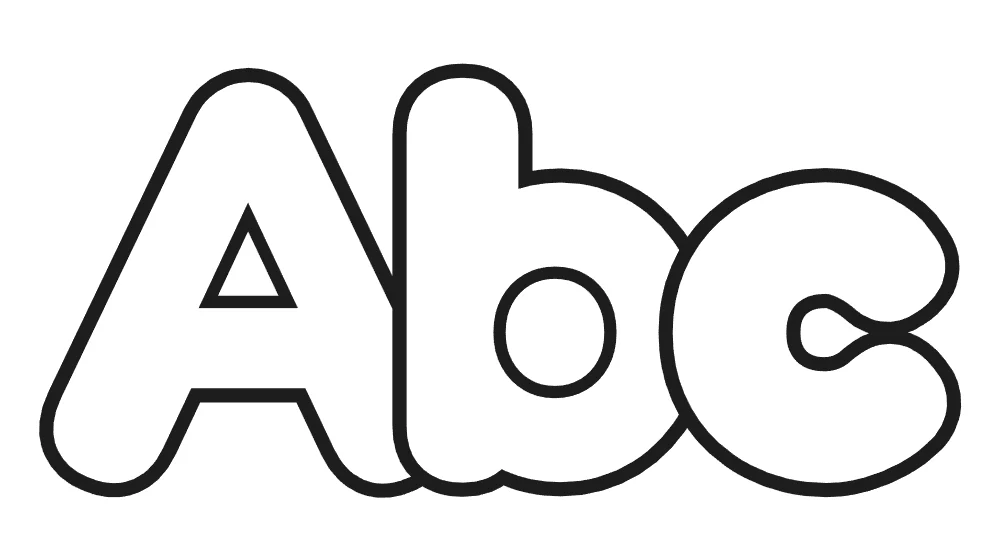
This method works for every letter and every number. The pictures show the word “Abc”. It has a hole in the A, a hole in the b and a round c.
Step 1: Write the Letter Lightly
Write a normal letter with your pencil. Press very lightly, because you will erase it later. Make it big, with plenty of space around it. This thin letter is your guide, like a skeleton inside the bubble.

Step 2: Draw a Round Outline Around It
Now draw a line all the way around your guide letter. Keep the same distance from the guide everywhere, like a puffy coat. A finger width is a good distance for big letters. Draw slowly and keep the line smooth.

Step 3: Round All Corners and Keep the Holes
Bubble letters have no sharp corners. Turn every point into a soft curve, like a balloon. Look for holes inside the letter, like the triangle in an A. Draw a small round hole there. Do not let it close up, or the letter gets hard to read.

Step 4: Erase the Guide Lines
Trace your bubble outline with a black marker. Wait a moment so the ink can dry. Then erase the pencil guide in the middle. Now you have a hollow bubble letter, ready to color.
Step 5: Add Shadow, Shine or Color
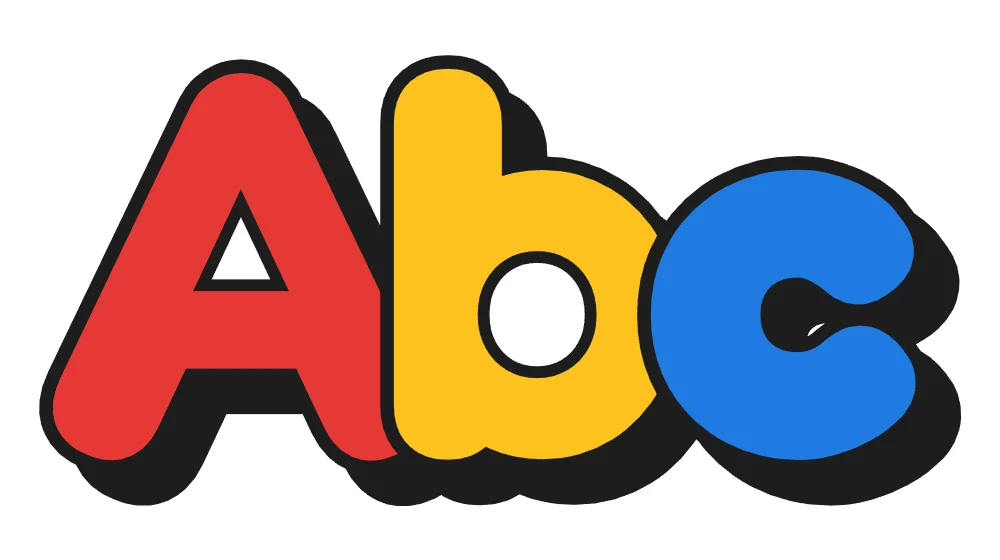
Now make your letter pop. Color it with one color, a rainbow or a pattern, like dots or stripes. Add a shadow on one side. Draw a small white shine mark near the top. The next sections show how.
Tips for Tricky Letters
Most letters are easy once you know the 5 steps. These letters need a little extra care:
- N: make the slanted middle line as thick as the two sides. Round the two tight corners where the lines meet.
- M: keep the middle V short, so it stops above the bottom line. Leave a clear gap in both notches at the top.
- R: draw it as a P first, then add a leg. Let the leg start where the bump ends, so the hole stays open.
- G: start with a C, then add a short shelf that points into the middle. Keep the shelf thick and round at the tip.
- E: leave wide gaps between the three arms. If the gaps are too thin, the arms melt together.
- B: make the bottom bump a bit bigger than the top bump. Keep both holes open, even if they are small.
- S: keep the outline the same width along the whole curve. Leave space between each end and the middle of the S.
- K: let both arms touch the stem at one point. Round the tip of each arm.
- W: draw it as two V shapes side by side. The W is wide, so leave extra room on your paper.
Every letter from A to Z has its own page with shape tips. Find them all in the bubble letter alphabet.
How to Make Bubble Letters Overlap
Overlapping letters look full and fun, like a word squeezed into a balloon. Here is how to do it:
- Draw the first letter in full, with all 5 steps.
- Draw the next letter so it covers a small part of the first one.
- Erase the part of the first letter that is now hidden behind the second one.
- Repeat for each letter in the word.
Overlap each letter by the same amount, so the word looks even. Do not cover a hole, or the letter gets hard to read. Overlap works well with names and short words.
How to Draw 3D Bubble Letters and Shadows
A shadow makes bubble letters look like they stand off the page.
- Pick a side for the light, for example the top left.
- Draw a second line just outside the bottom and right edges of each letter.
- Connect it back to the letter at the round ends.
- Color that thin strip dark gray or black.
For 3D bubble letters, make the strip wider. Then add short lines from the corners of the letter to the edge of the strip. Keep every strip on the same side, or the word looks messy.
For a glossy shine, draw a small white curve near the top left of each letter. Leave it white when you color. Two tiny dots next to it look like sparkles.
Ideas to Color Your Bubble Letters
- Rainbow: give each letter a new color, in rainbow order.
- Ombré: start light at the top and get darker at the bottom.
- Patterns: fill letters with polka dots, hearts, stars or stripes.
- Graffiti bubble letters: use fat letters, a thick black outline, a 3D strip and bright colors.
- Theme colors: use orange and brown for fall, or red and green for winter holidays.
Practice with Tracing Pages
The fastest way to learn is to trace real bubble letters first. Open the bubble letter generator and pick the tracing look. It prints a light outline that kids can trace with a pencil.
- Type a name or a word, or tap the A–Z quick set.
- Choose the tracing look and an extra thick outline for small hands.
- Print at 100% scale on US Letter or A4.
- Trace each letter, then color it in.
After a few tracing pages, try the 5 steps on blank paper. Start with easy letters like O, C and L. Then move on to the tricky ones. Print the bubble numbers to practice digits, too.